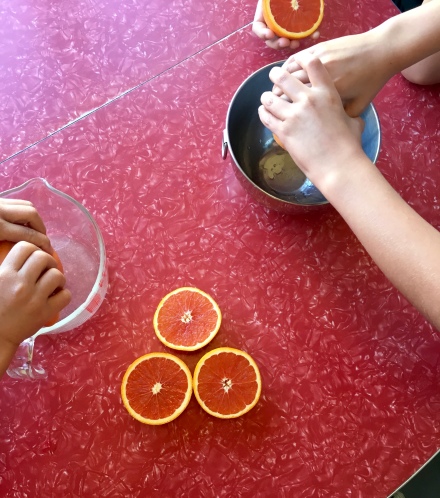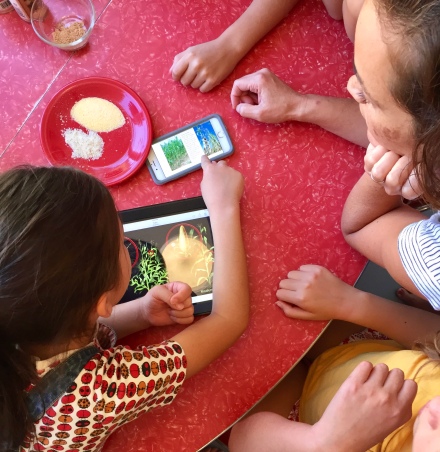
“Where are we going today?”
The kids took a look at the atlas I had opened and placed on the table.
“Greece!”
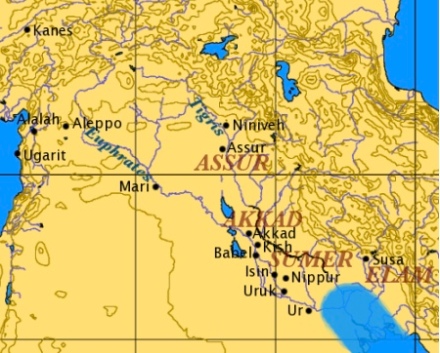
“Yep. We’re still talking about early civilizations and how people developed their natural resources. Like the people of Mesopotamia and ancient China, the ancient Greeks took what grew around them and used it to their advantage.”
The kids took some guesses about what ingredient we’d be using in our lesson.
“Wheat?”
“A fruit?”
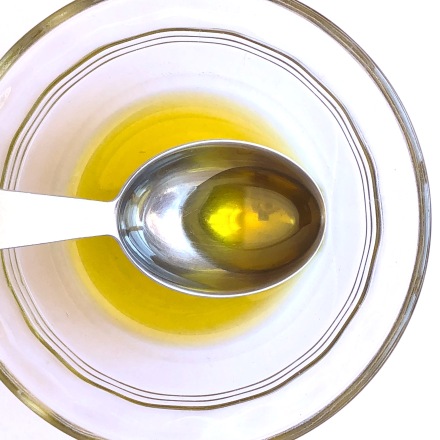
“The olive.”
An indigenous variety of olive was already growing in Greece before the first people settled there, but the fruit of the wild olive yields little oil. The tree was native to the Levant as well, and people in both places did what people do once they realize the potential of a resource — they domesticated it.
“Evidence suggests that by 4000 B.C.E., people along the eastern coast of the Mediterranean had already started cultivating the tree. Anyone want to take a guess which countries make up that area now?”
“Um…”
“Turkey?”
“Yes! But also, Syria, Lebanon, Israel, and Palestine. And then the Minoans, who settled on the island of Crete, also realized the value of the olive. Archaeologists have found olive presses and large jars for storing oil there.”
We talked about why olive oil was so prized: for eating and cooking, as fuel, taken as medicine, and used cosmetically. It also played a part in religious rituals.
“Which is why it was a major part of the economy and trade in the Mediterranean, and why the Greeks continued to breed more varieties of olives when they took over after the Minoan decline.”
I explained that olive trees need coastal semi-arid land. We consulted the map.
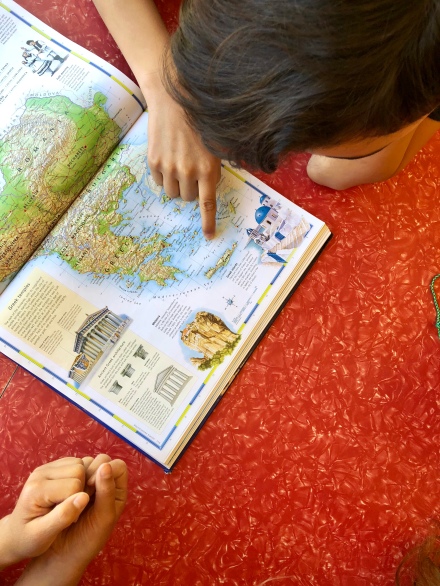
“That’s a lot of coast.”
The ancient Greeks’ main trade items were oil and wine, and they spread out and colonized areas where the tree could grow — Italy and Sicily, the Iberian peninsula, and the coast of France.
“Olives and olive oil are a huge part of Greek culture.”
Most of them remembered the myth of Athena and Poseidon, and some of them were very enthusiastic about telling it to those who didn’t.
I continued on with my list: “Olive oil still plays a part in the religious lives of the Greeks. The olive branch signifies peace and love. And yes, they consume a lot of olive oil.”
While the Greeks aren’t the largest producer of olive oil, they consume the most per capita.
“5 gallons?!”
We imagined people with very sleek hair.
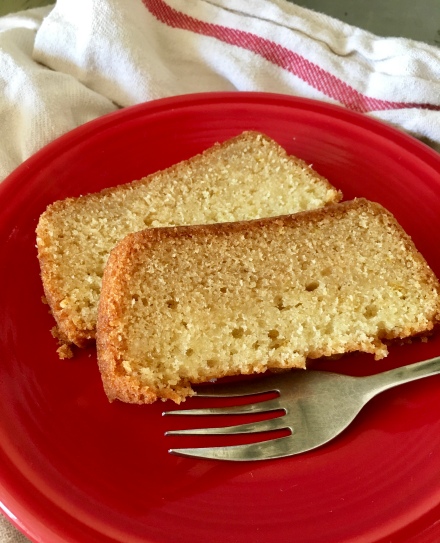
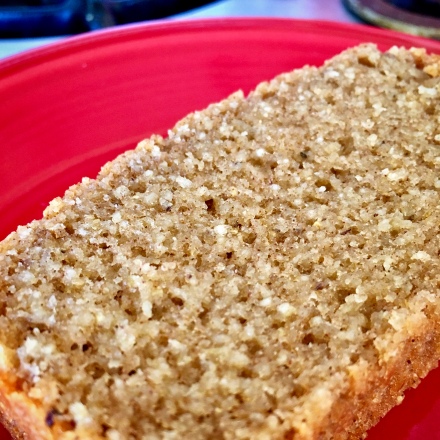
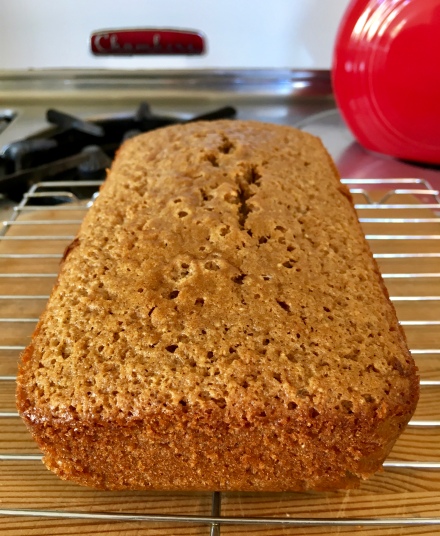
“Most people think of olive oil as a savory ingredient, but Greeks use it in everything, even pastry.”
Melitinia are traditionally made the week of Easter — to be eaten once Lent is over — and come from the island of Santorini.
The kids found the history of Santorini interesting, and we talked for a few minutes about how a caldera is formed.
They again took a look at the map, noticing that the archipelago that Santorini is part of forms a circle.
“Ohhh, I see it!”
“But the map says Thira.”
“You guys might remember from our history reading that the Minoans on Crete were impacted by a huge volcanic eruption, one that may have contributed to that civilization’s decline — that was Thira.”
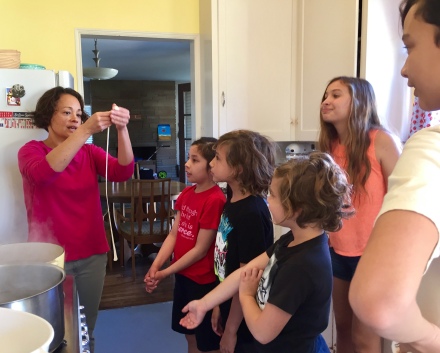
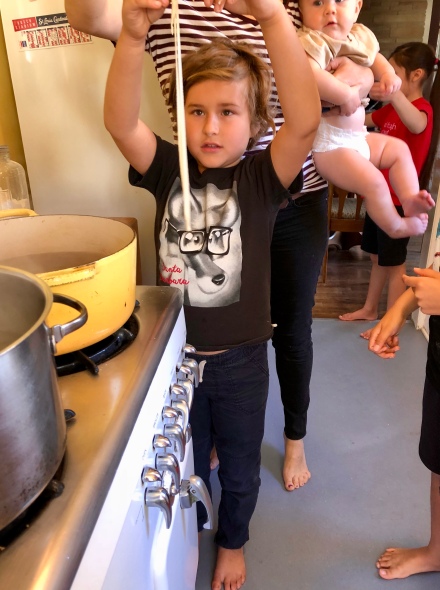
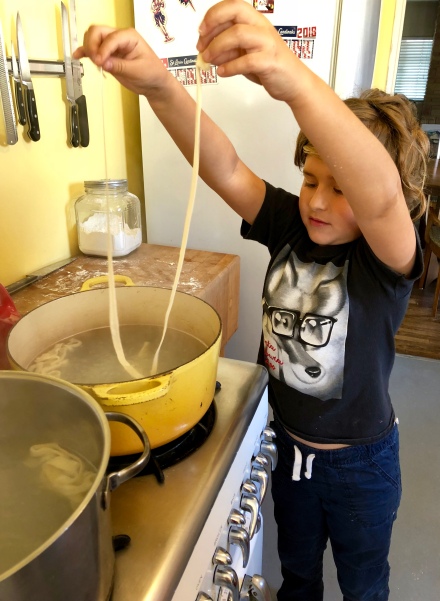
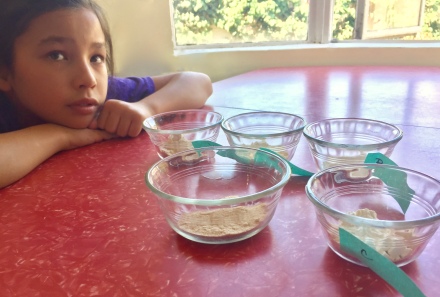
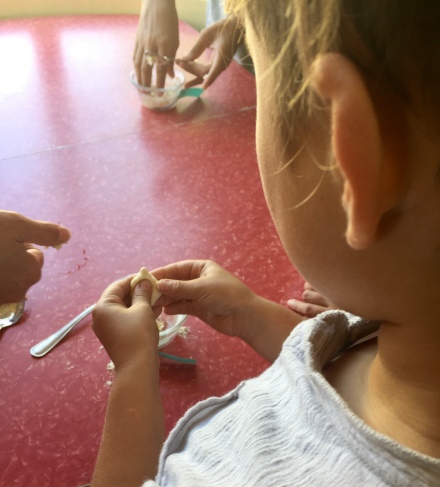
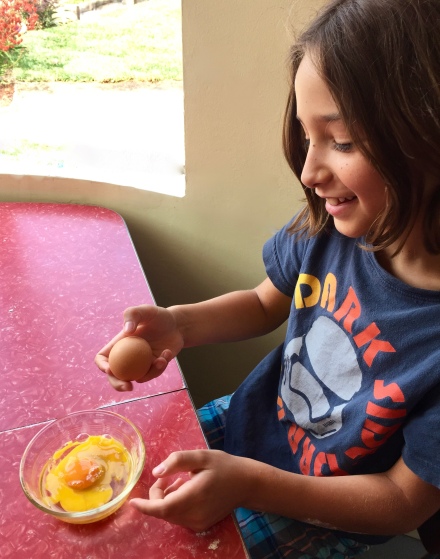
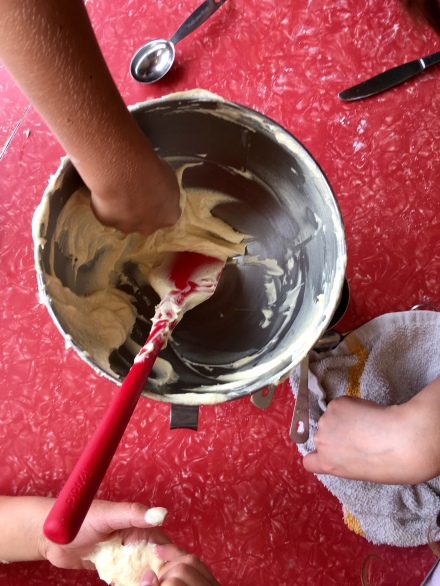
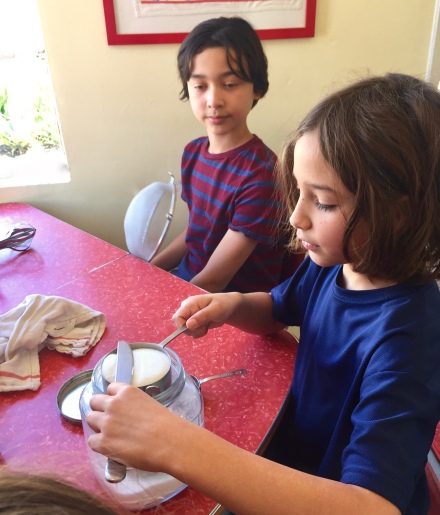
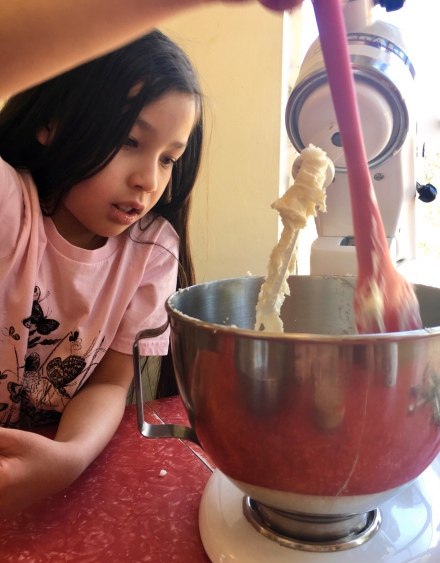
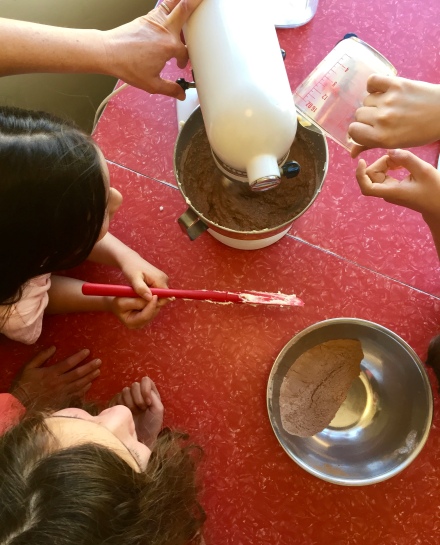
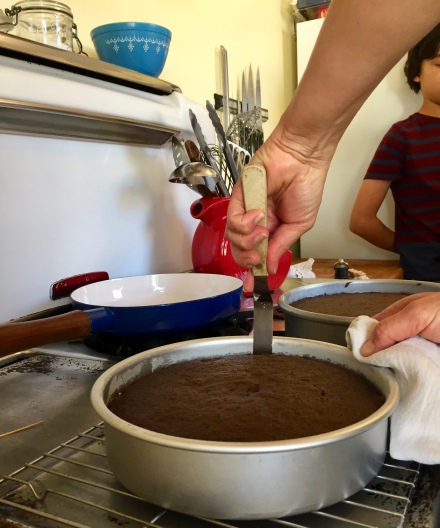
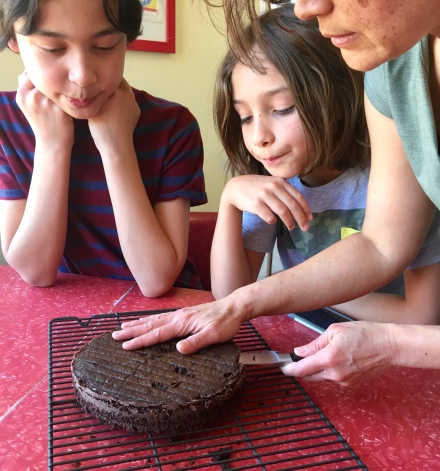
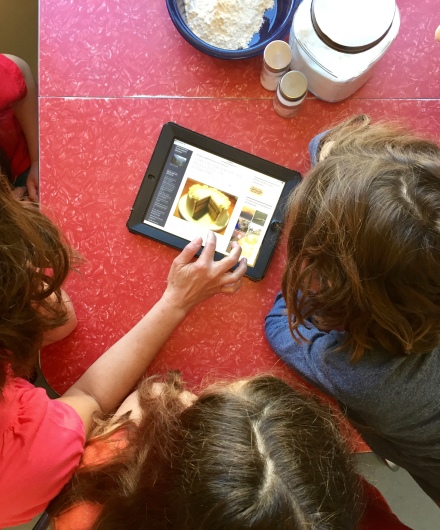
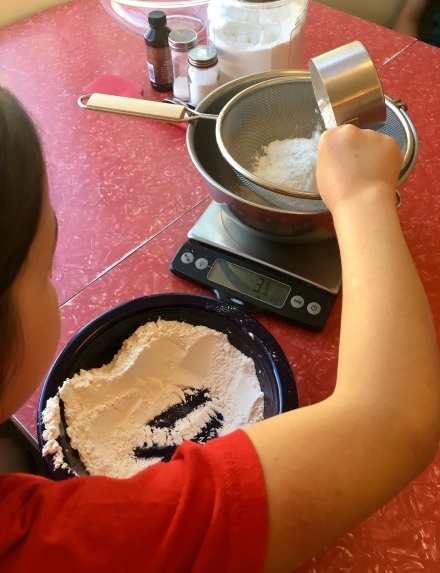
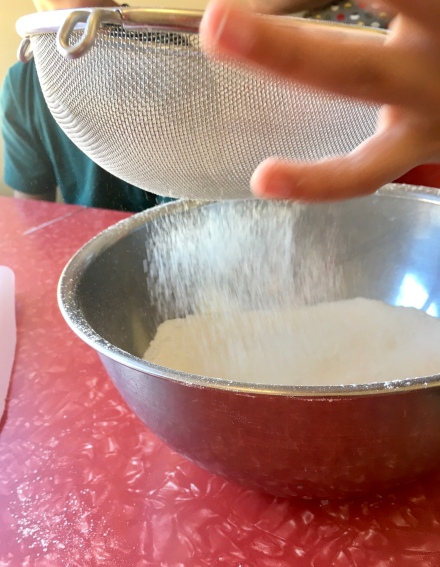
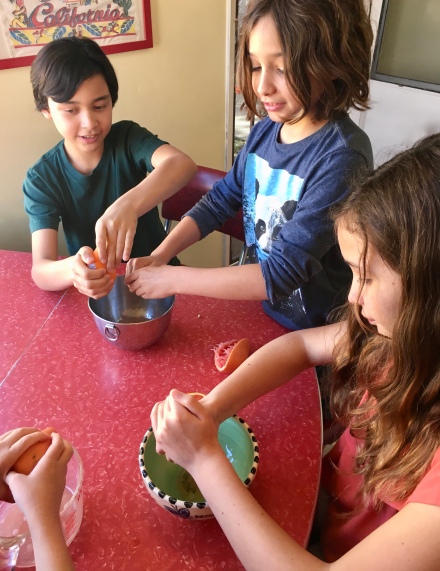
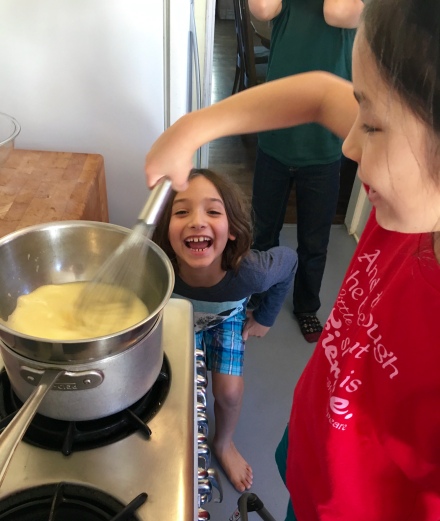
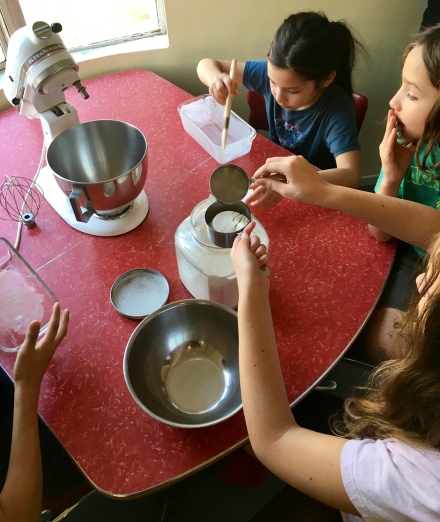
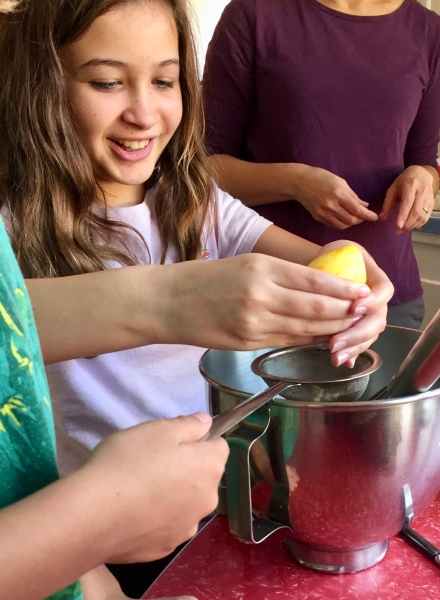
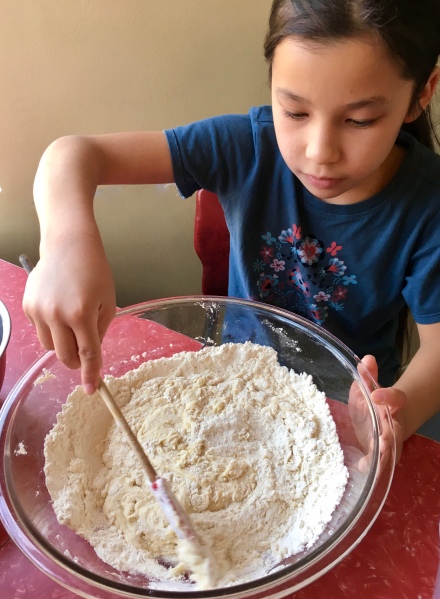
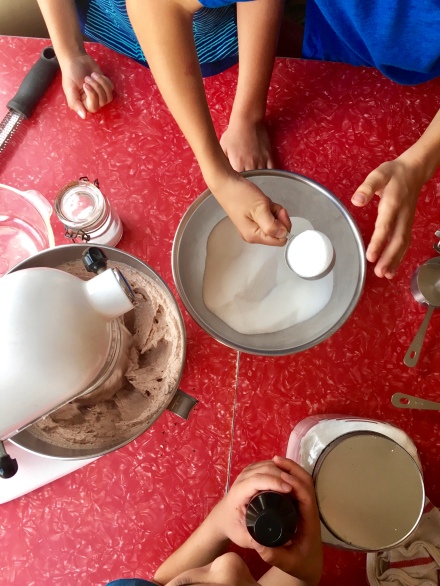
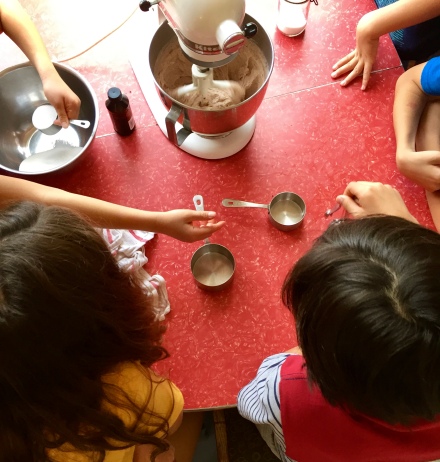
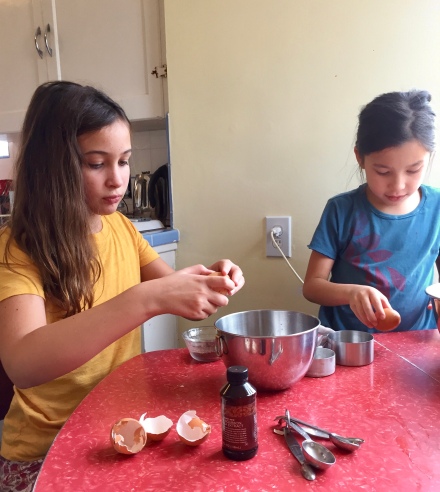
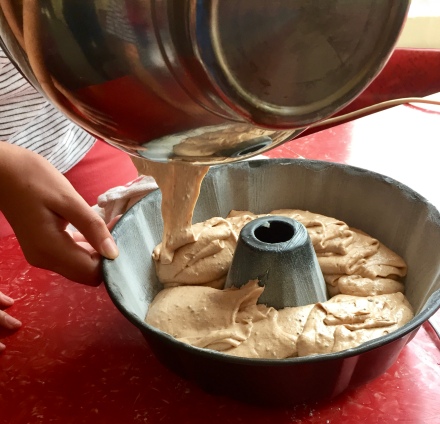
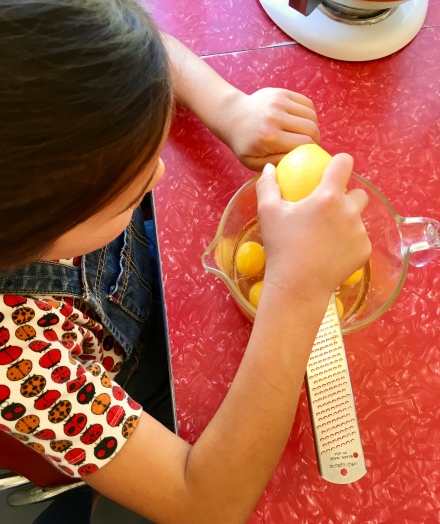
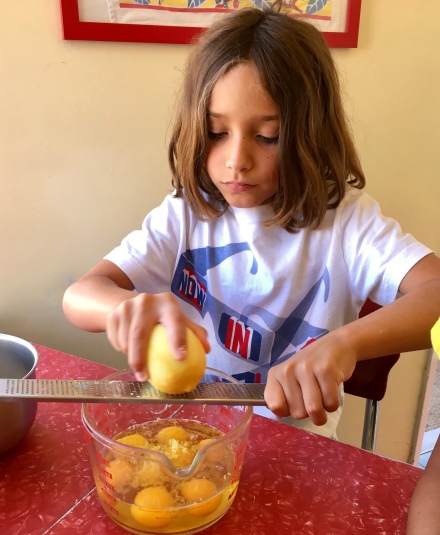
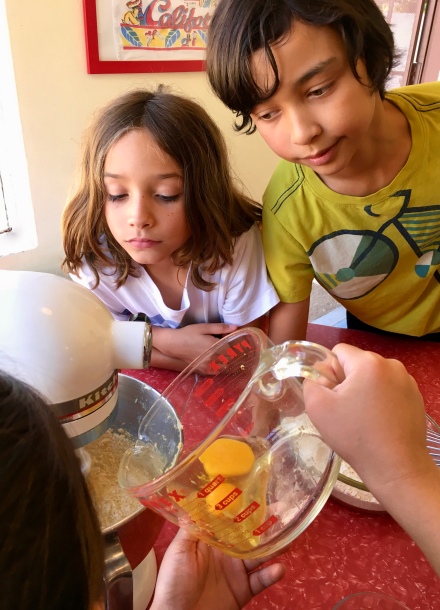
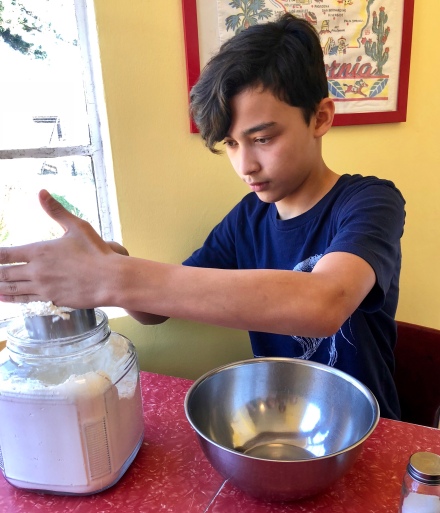
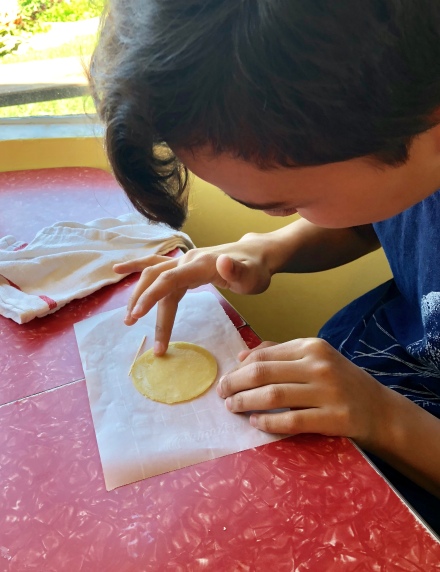
On to the baking portion of the lesson.

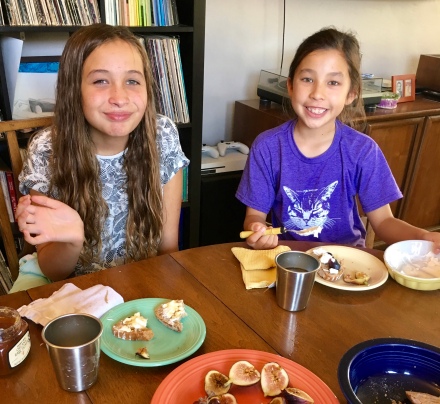
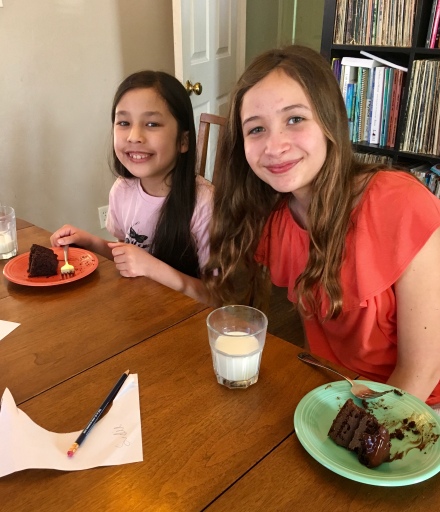
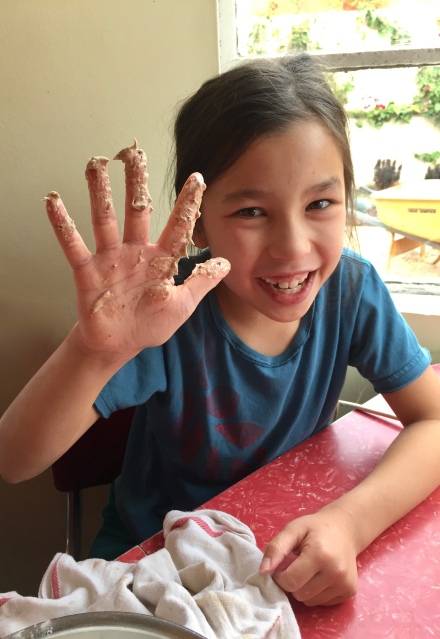
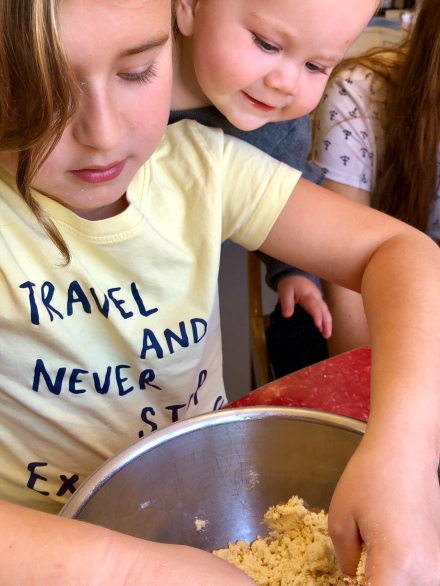
We had an extra little helper who wanted in on the action.
“The melitinia is filled with sweetened cheese flavored with mastic.”
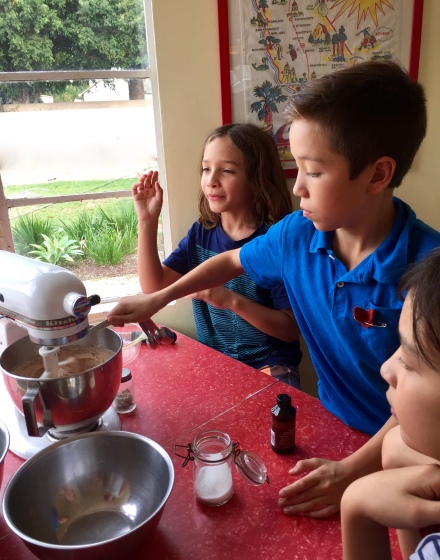
“What’s mastic?”
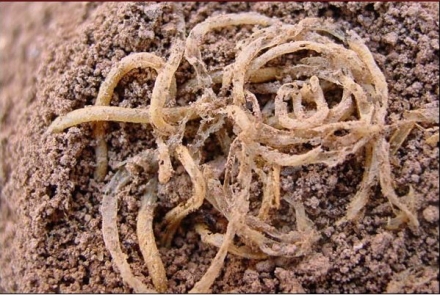
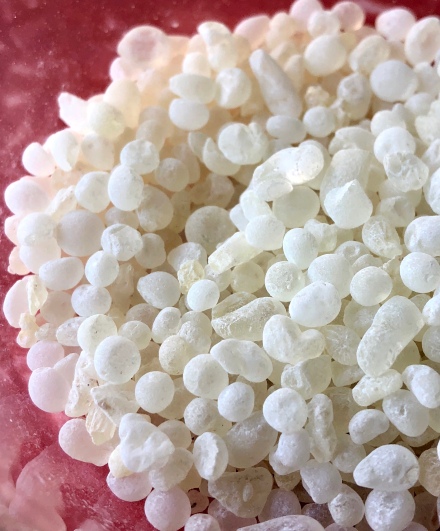
Mastiha (mastic) is the resinous sap that is exuded from the Pistacia lentiscus chia tree when it is wounded. Chian mastic growers make small cuts in the tree and collect the globules of sap, called tears. These “Tears of Chios” are used in food and drink, in the medical/pharmaceutical and chemical industry, and in cosmetics and perfume. They are a Protected Designation of Origin product.
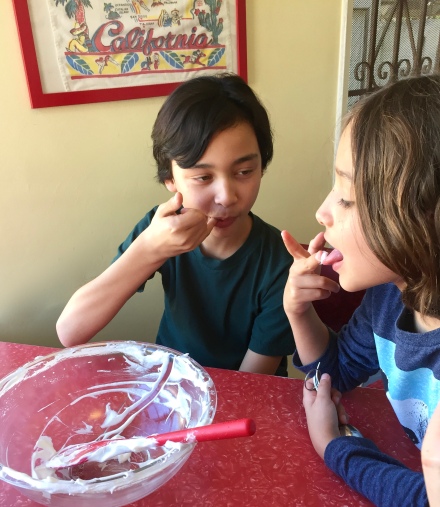
The kids chewed away as we discussed the meaning of masticate.
“It tastes like forest.”
“I think I’ve got one stuck in my braces.”
Uh oh.
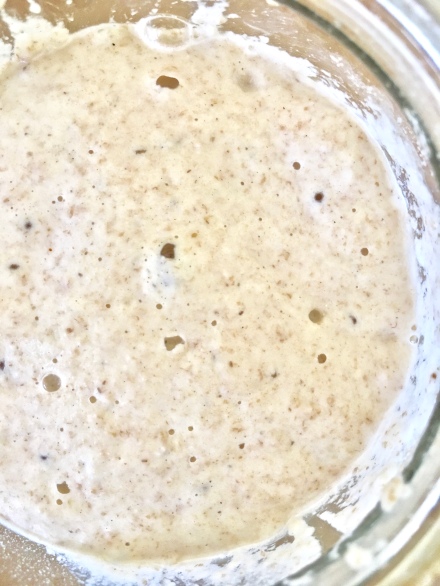
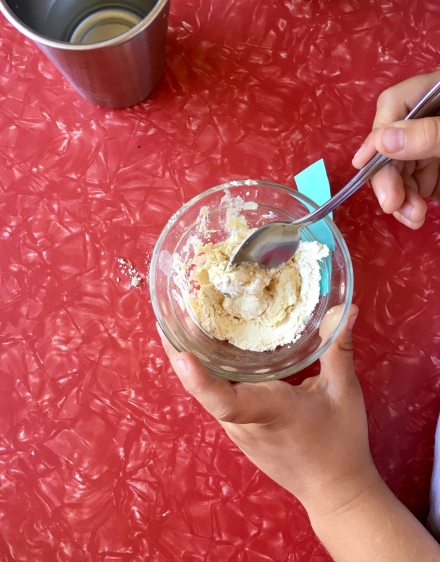
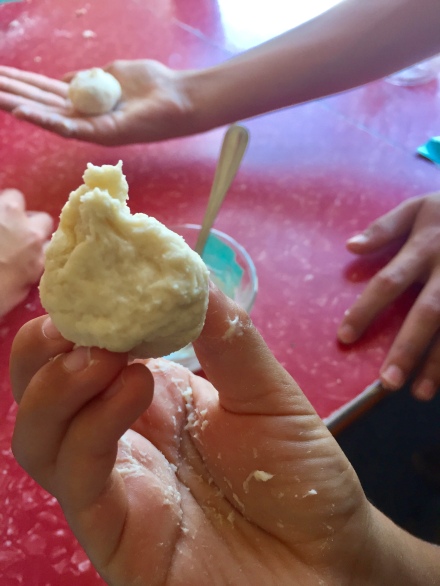
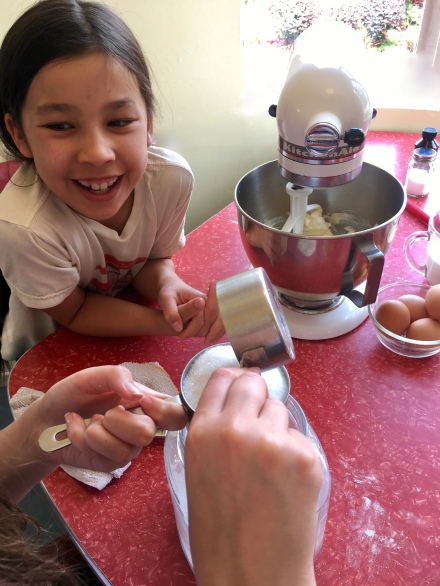
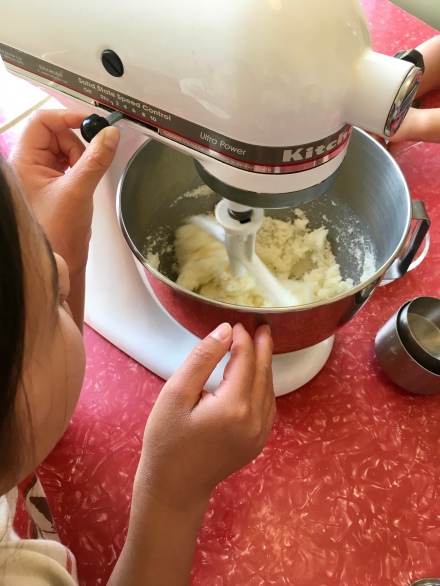
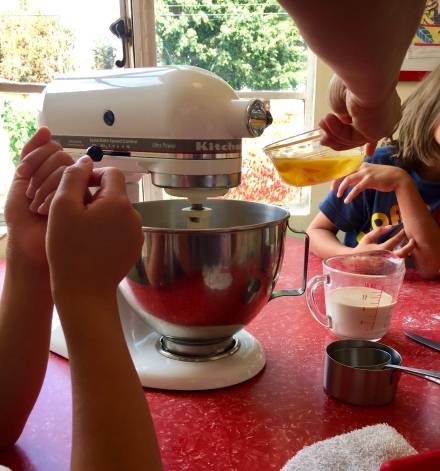
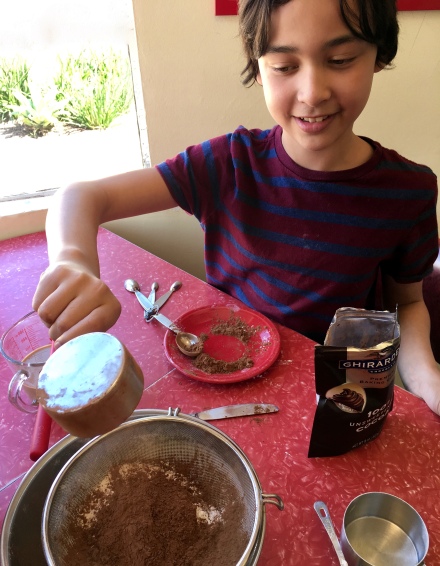
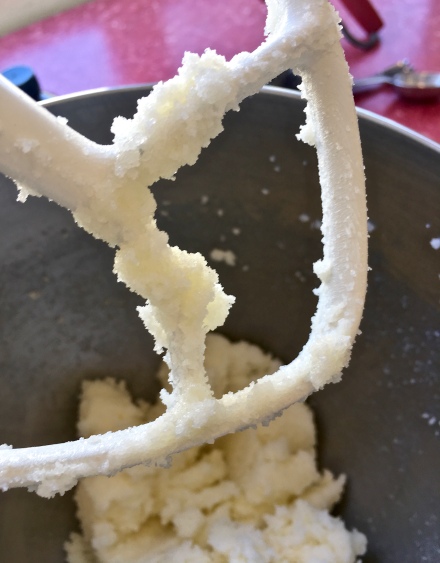
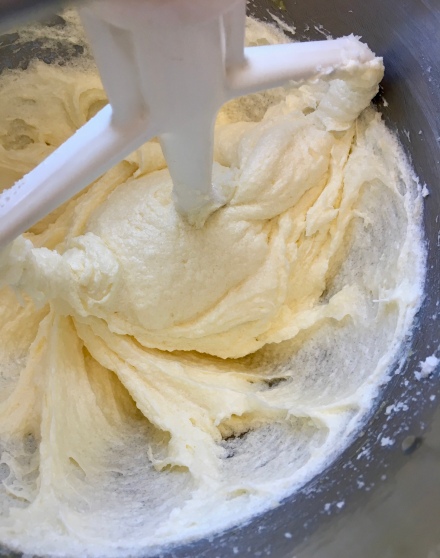
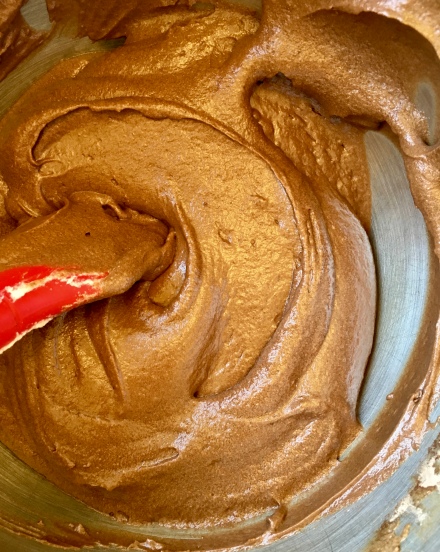
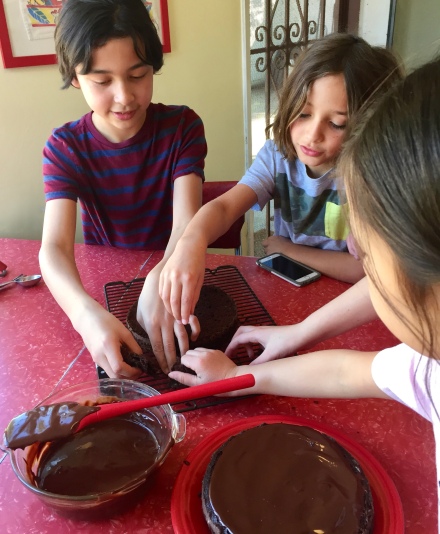
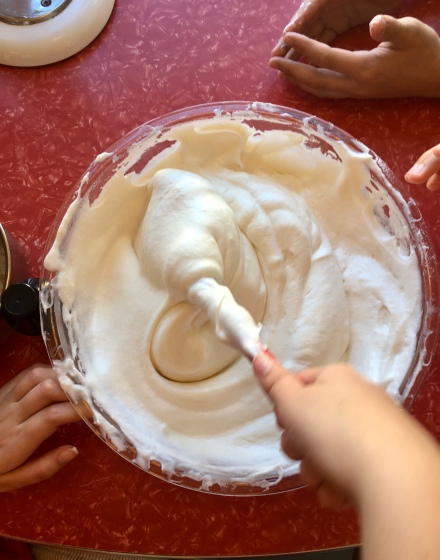
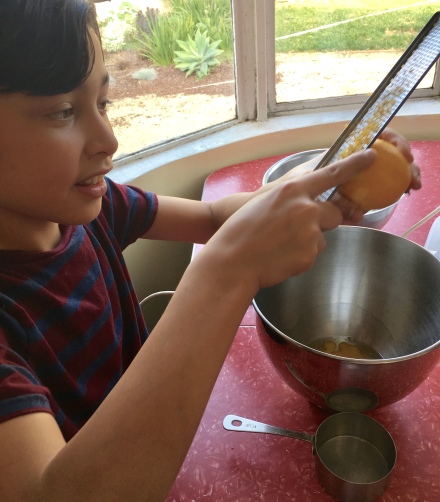
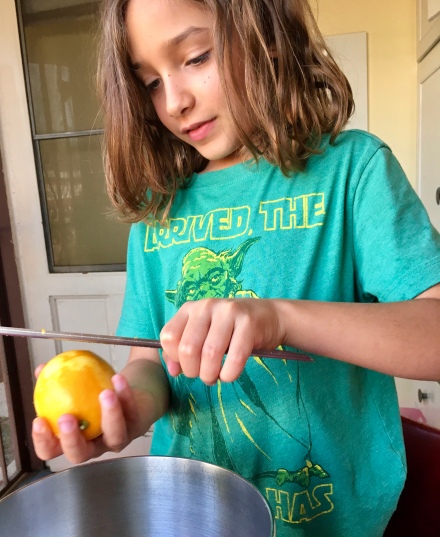
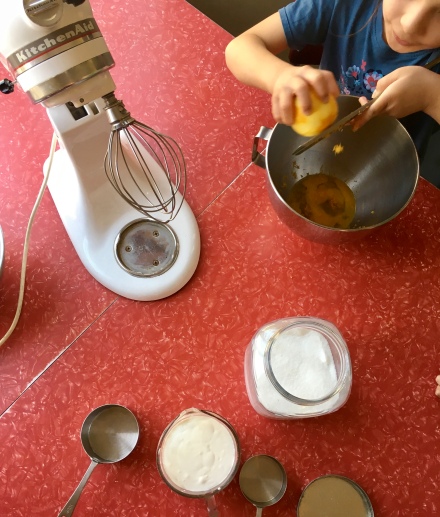
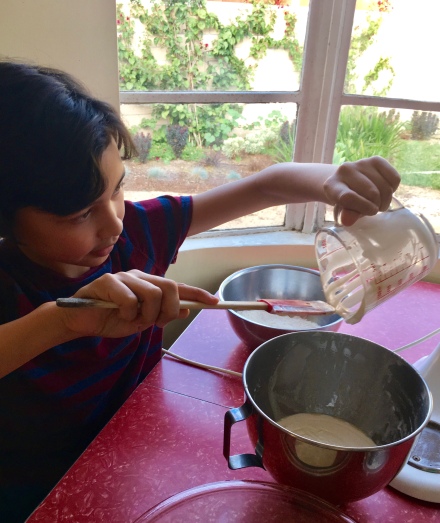
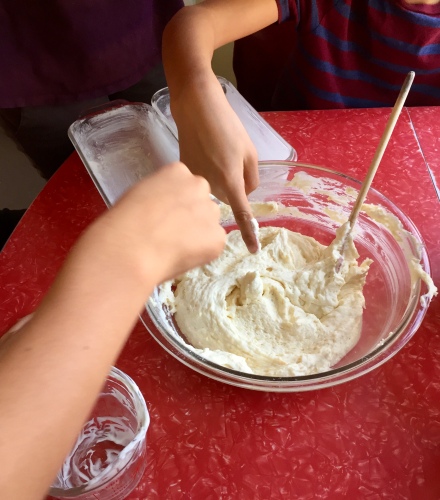
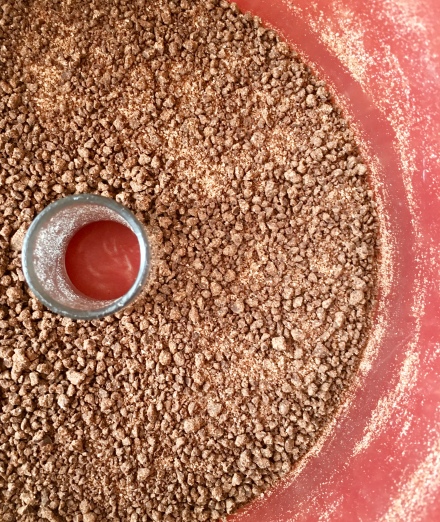
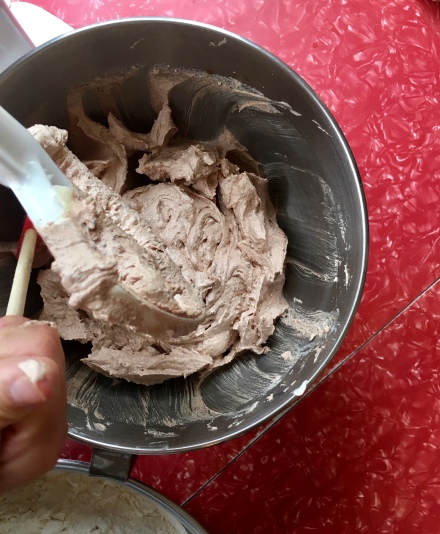
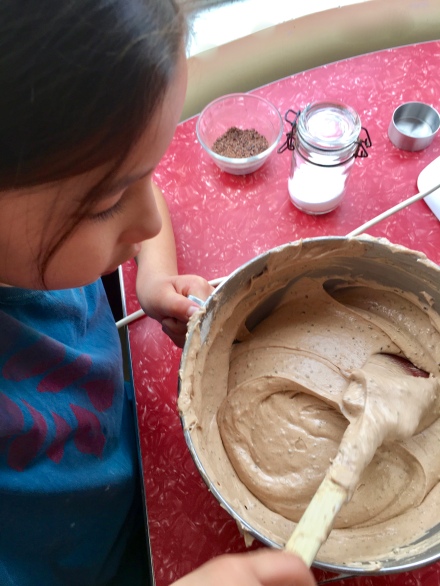
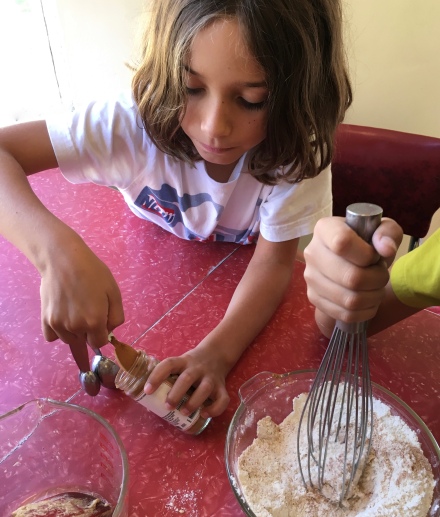
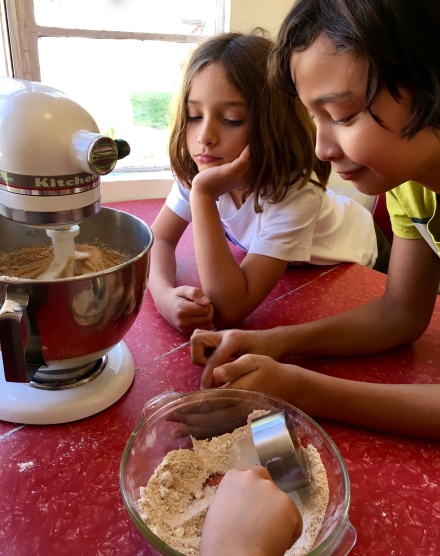
Dental crisis averted, we returned to mixing the filling.
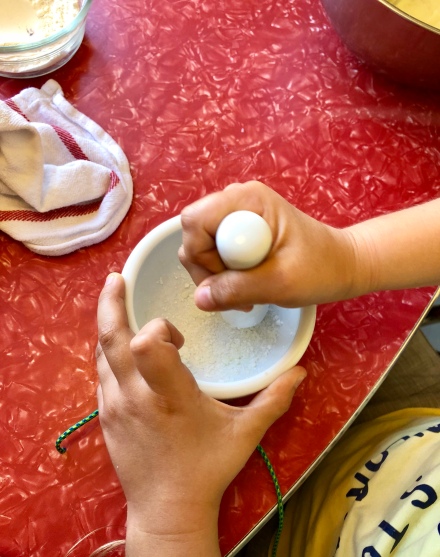
The kids took turns pulverizing the mastic tears with a bit of sugar.
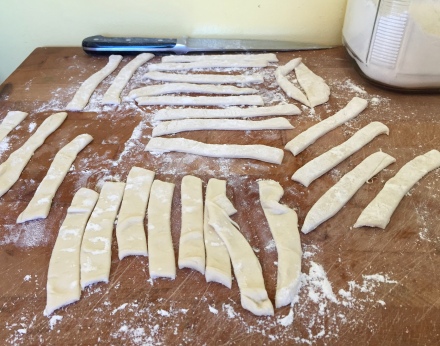
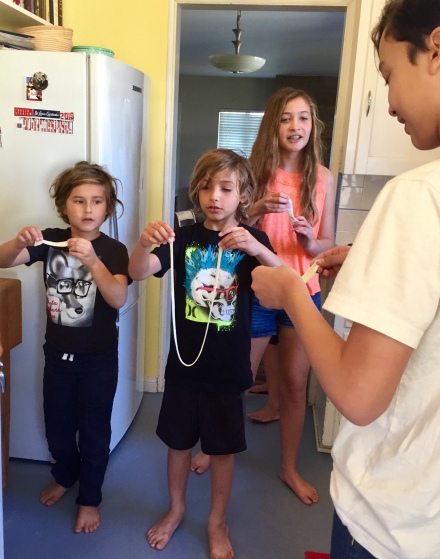
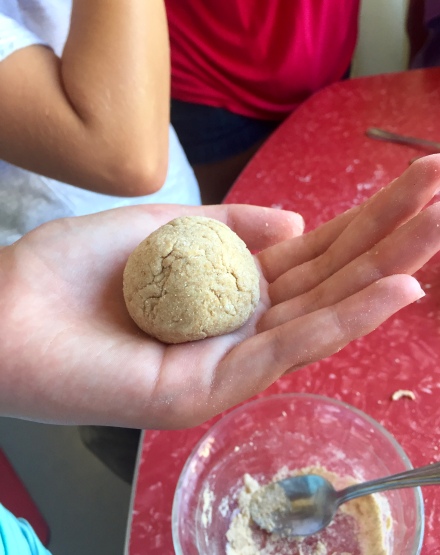
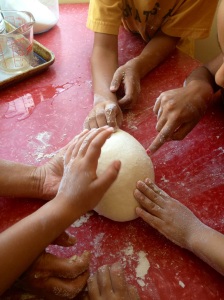
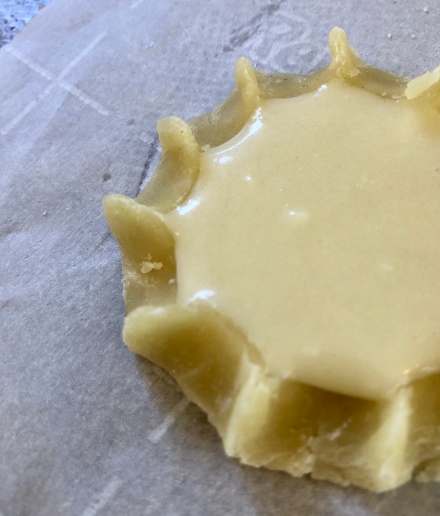
Then we began filling and pleating the pastry.
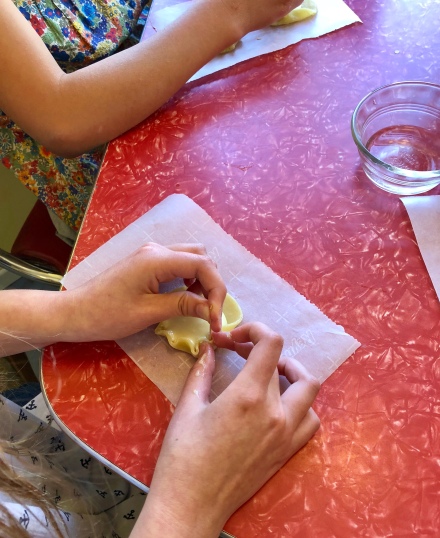

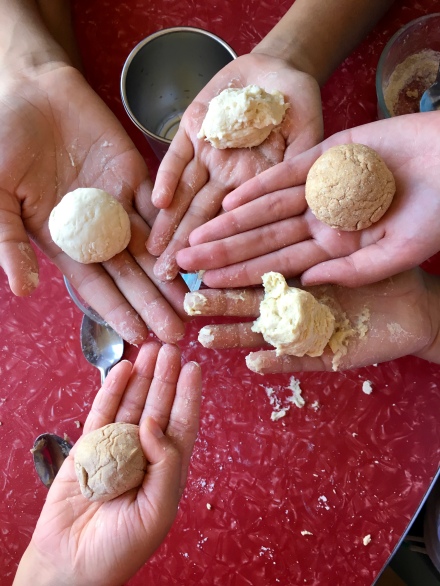
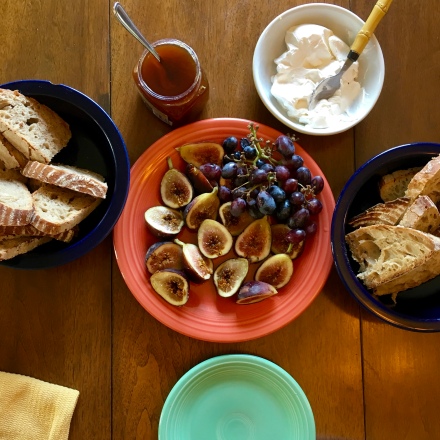
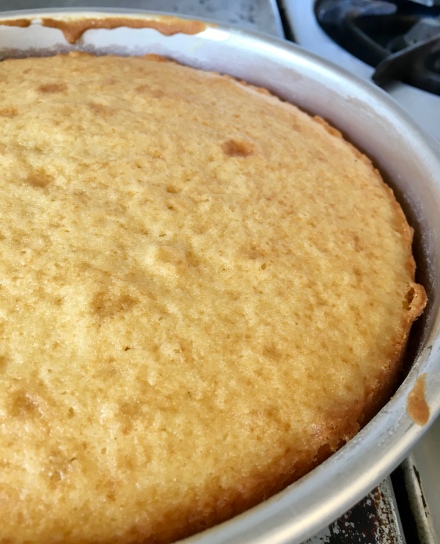
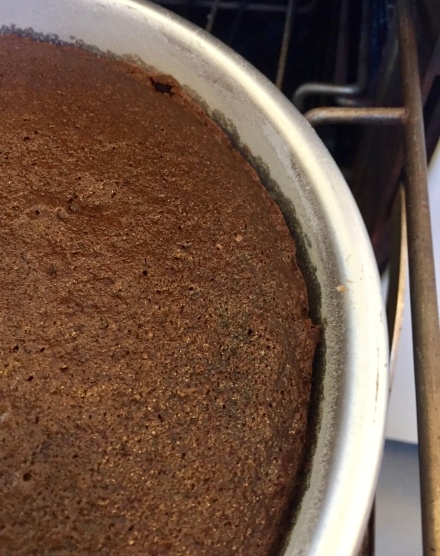
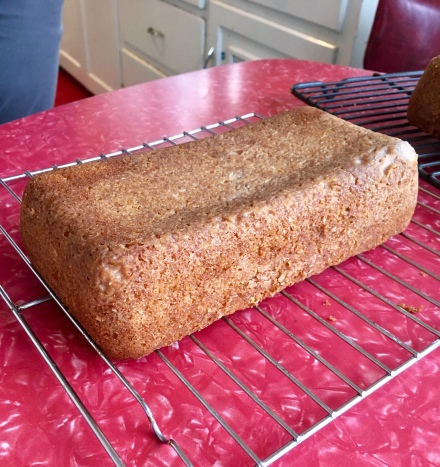
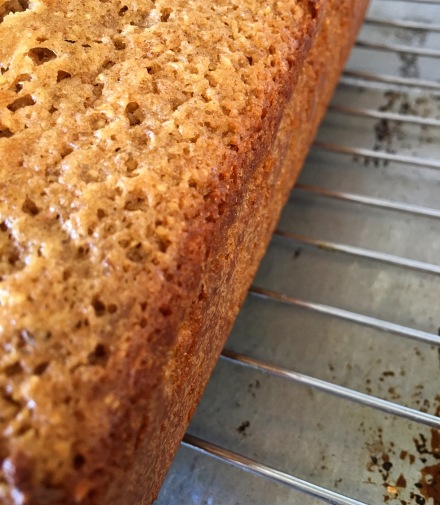
The kids did a great job with their nimble little fingers, and the melitinia baked up into lovely little golden suns.
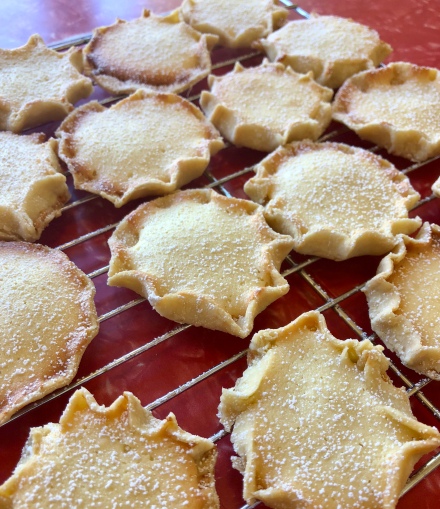
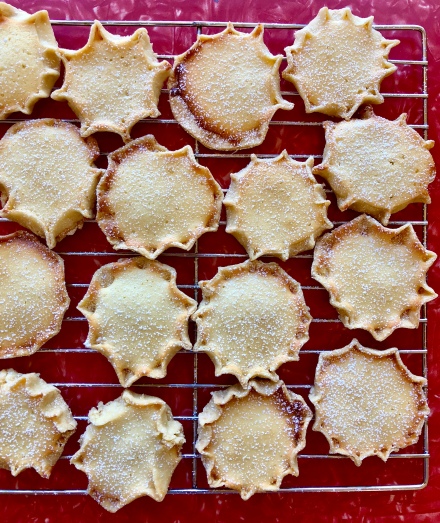
While our pleating may not have been quite up to yia yia standards, the kids were proud of their Greek pastries, and even happier to eat them.
Melitinia (adapted from several recipes)
Makes about 24
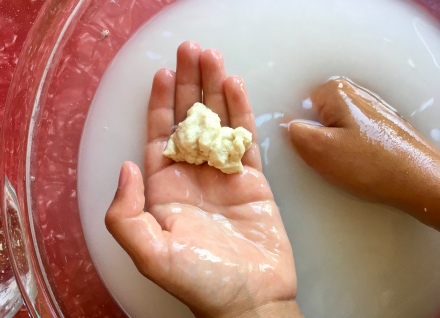
The pastry is traditionally made with olive oil, but can also be made with butter. The filling is supposed to be a Greek, usually homemade, unsalted goat cheese, or a soft, moist mizithra, neither of which are easy to find here. After consulting several recipes, I settled on a combination of homemade ricotta and a good Greek feta.
All the recipes I read included mastic, but if you don’t have mastic, the vanilla alone should do.
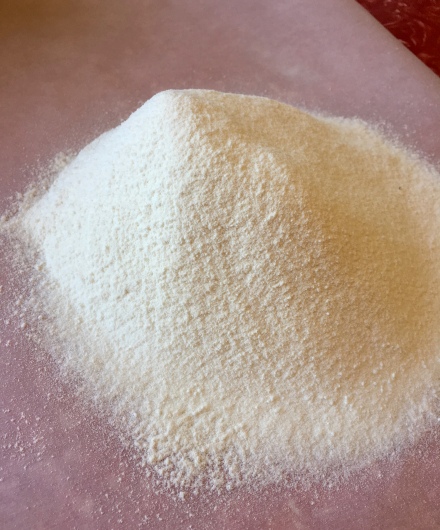
2 cups unbleached all-purpose flour
1/2 teaspoon sea salt
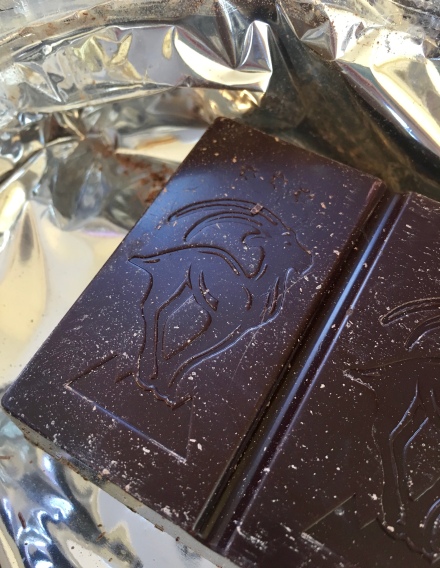
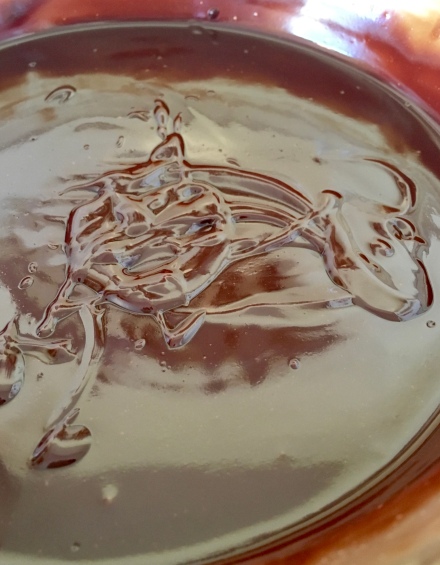
1/2 cup olive oil or melted butter (unsalted)
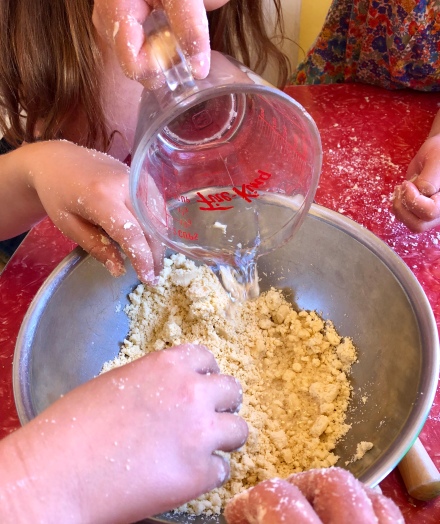
1/4 cup water
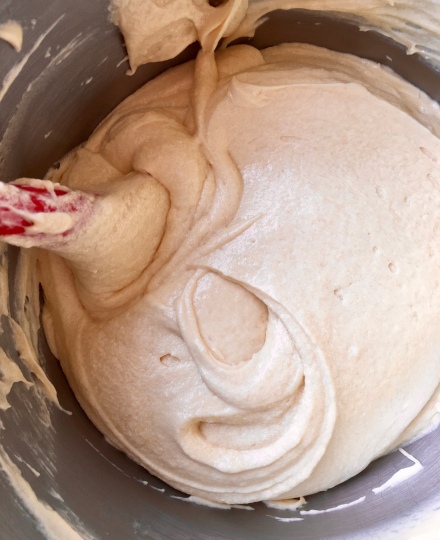
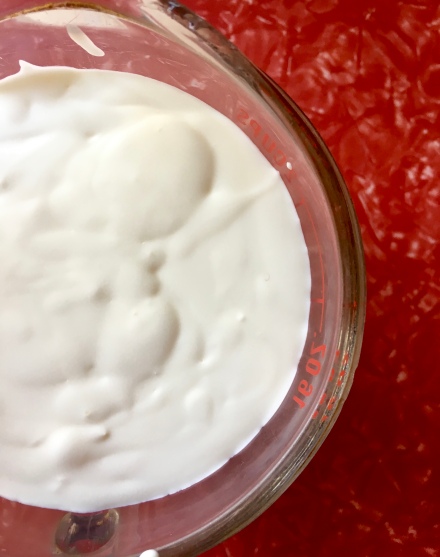
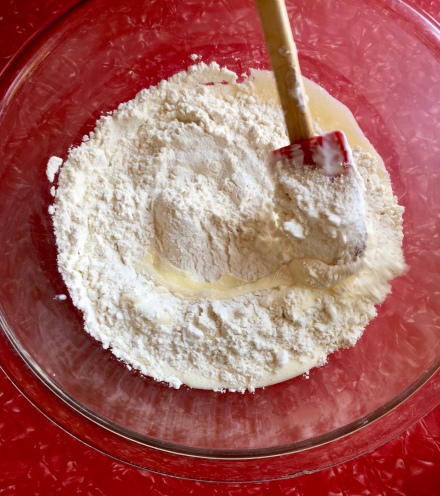
Combine the flour and salt in a large bowl. Add the oil while using your fingers to rub the mixture until crumbly. Add the water and mix until the dough can be gathered into a ball. Press the dough into a round and wrap it tightly in plastic wrap so that it doesn’t dry out. Set aside to rest for an hour or refrigerate overnight. Bring the dough back to room temperature before rolling out.
1/2 cup of the freshest ricotta you can find, (see above), or a good, soft goat cheese
2 ounces good quality feta cheese, crumbled
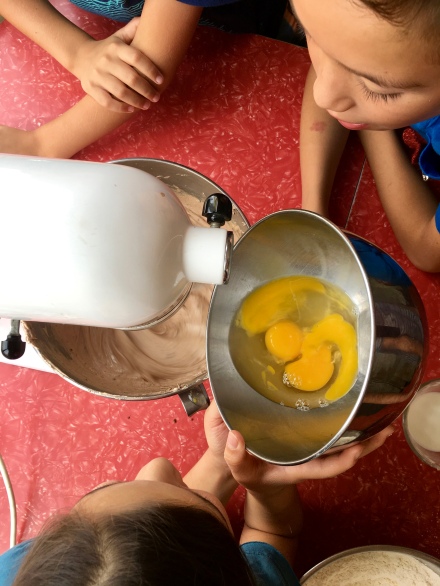
1 large egg, room temperature
1/2 cup sugar
1/4 teaspoon baking powder
1/2 teaspoon vanilla
a rounded 1/4 teaspoon powdered mastic (we ground the tears in a mortar with a bit of sugar)
3 Tablespoons of unbleached all-purpose flour
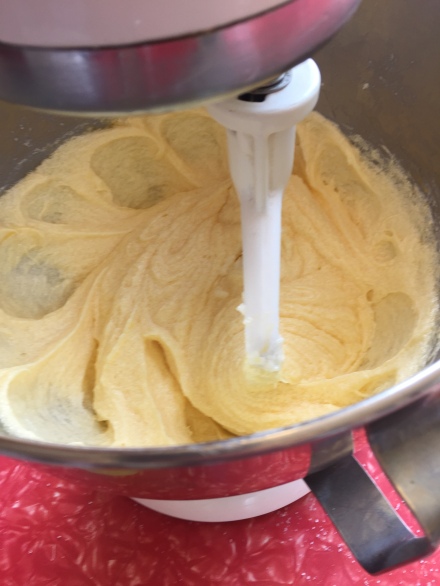
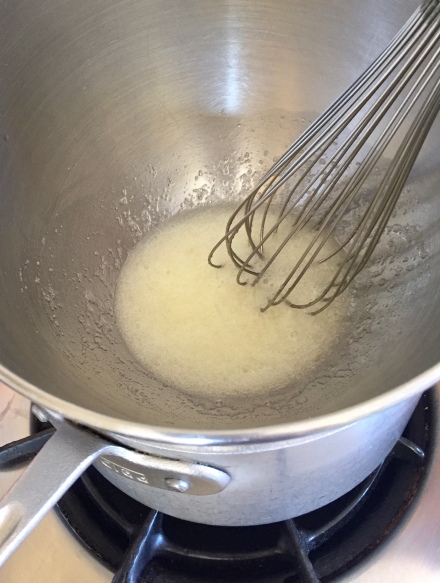
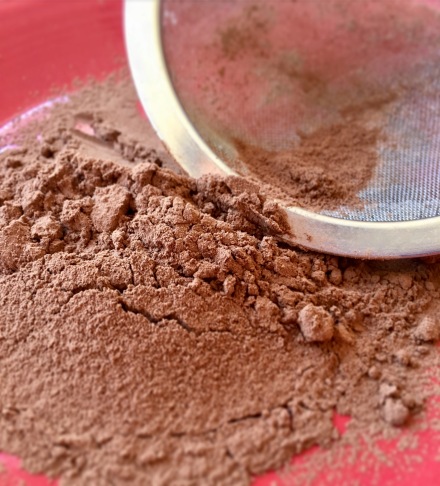
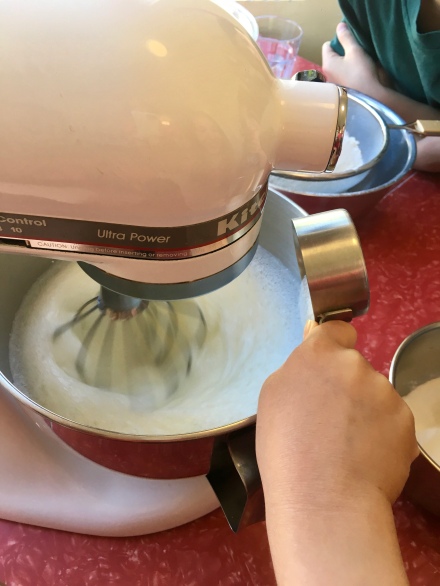
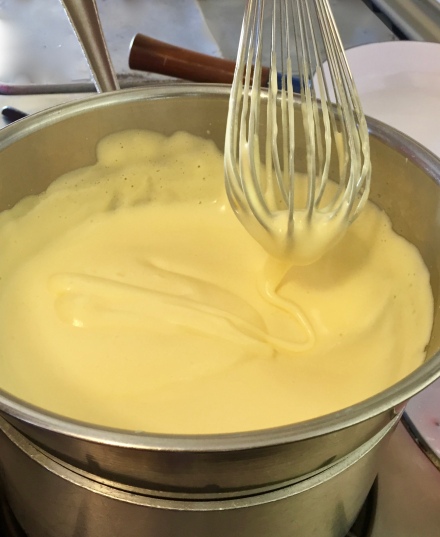
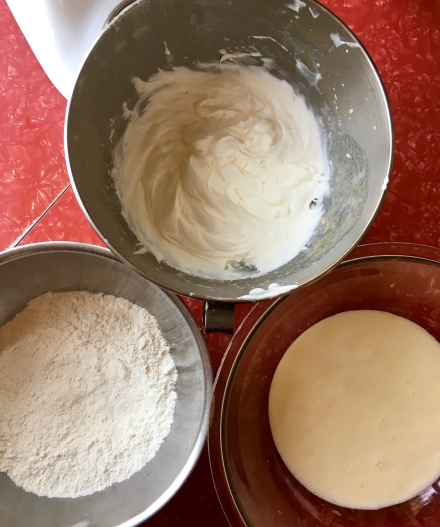
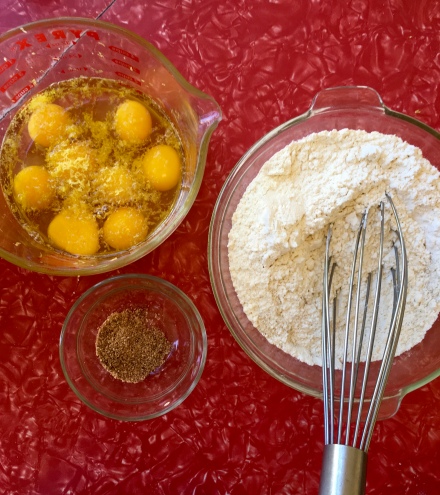
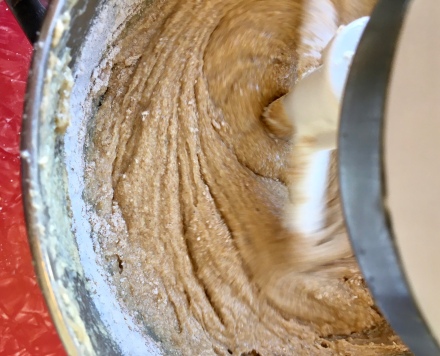
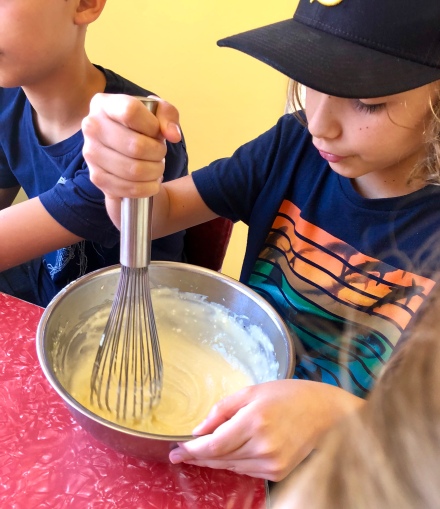
When you are ready to form the melitinia, prepare the filling: combine the cheeses, egg, sugar, baking powder, vanilla, and mastic in a bowl. Whisk together until well blended. Beat in the flour until combined.
Heat the oven to 375 degrees F.
Divide the dough in half. On a floured surface, roll one potion as thin as possible. Use a round cutter to cut out as many rounds as you can. (I used a 3 1/4″ cutter and was able to get about 10, then another two out of the re-rolled scraps). Repeat with the remaining portion of dough.
Working with one dough round at a time, spoon 1 T of filling onto the center. You can dampen the perimeter of the dough round with a bit of water to help with the pleating of the dough. Use your fingers, (we used our fingers and a toothpick), to pinch and flute the dough around the filling. Here’s a video demo. Ours were not that tight or neat, but you get the idea.
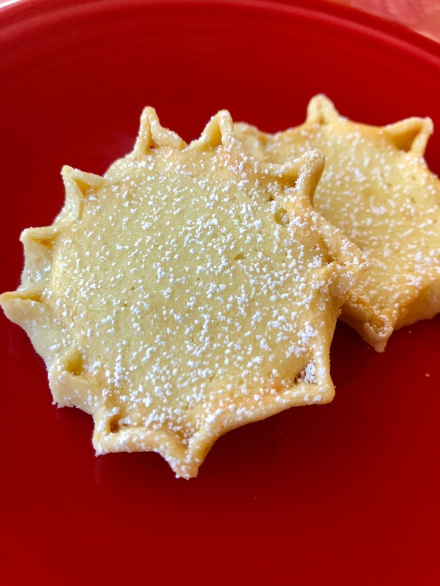
Place the melitinia on a parchment covered baking sheet and a bake until golden and crisp, about 30 – 35 minutes. Let cool for few minutes before sprinkling with powdered sugar.